Saturday, August 28

Bread Week: Scones

Next week is finals, so you may not hear much from me until that craziness is all over.  In one last little fit of procrastination, here is your final Bread Week recipe:  scones!!  I've been reading Mr. P's blog Delicious Delicious Delicious for some time now, and his recipe for English Scones made my mouth water - I knew I had to try them for myself.  When I mixed these up and had them on the cookie sheet ready to go into the oven, I realized that they looked very familiar to me.  They looked like a tray of biscuits.  Which led me into the age old debate:  what's the difference between a scone and a biscuit?  

Scone?  Biscuit?  English muffin? Delicious.
 I could easily launch into a discussion of what the international (non-American) English speaking community calls "biscuits" and "scones" and "digestives" and whatever other names we have for the same 6 ingredients, but honestly I would have no idea what I'm talking about, so let's not even try.  Instead, my take on the "biscuit or scone" issue is this:  these little guys are definitely not biscuits.  Biscuits, to me, are a little salty, a little crumbly and a little greasy.  They taste amazing drizzled with honey.  These little guys are more cakey, dessert-like and taste amazing with cream cheese and jam.  English Scones they are.  Even if I did eat them with coffee instead of tea...

True English Scones
(converted from Delicious Delicious Delicious)
*For my fellow spoiled Americans, I converted the metric into household measurements*
4-1/4 cups white flour
1 teaspoon salt
1 tablespoon baking soda
4-1/2 teaspoon cream of tartar
1/3 cup cold butter, sliced and quartered
1-1/4 cup cold milk, plus 2 tablespoons

Butter rubbed into flour should be soft and slightly sticky.
Sift together the flour, salt, baking soda and cream of tartar.  Add the cold butter, and mix with your hands by rubbing the butter into the flour mixture, until it becomes a little crumbly and there are no more small pats of butter left.  Add the 1-1/4 cup milk, stir with a fork until incorporated.  Turn onto a lightly floured surface and knead until you have a dough ball.  Roll the dough to about 1 inch think, then cut into 3-4" circles.   Place onto a cookie sheet, brush the tops with the reserved milk, and bake at 425 degrees for 10 minutes or until golden brown.  Cut in half and top with some fruity preserved goodness.  I also toasted them slightly the next day to warm them up again.

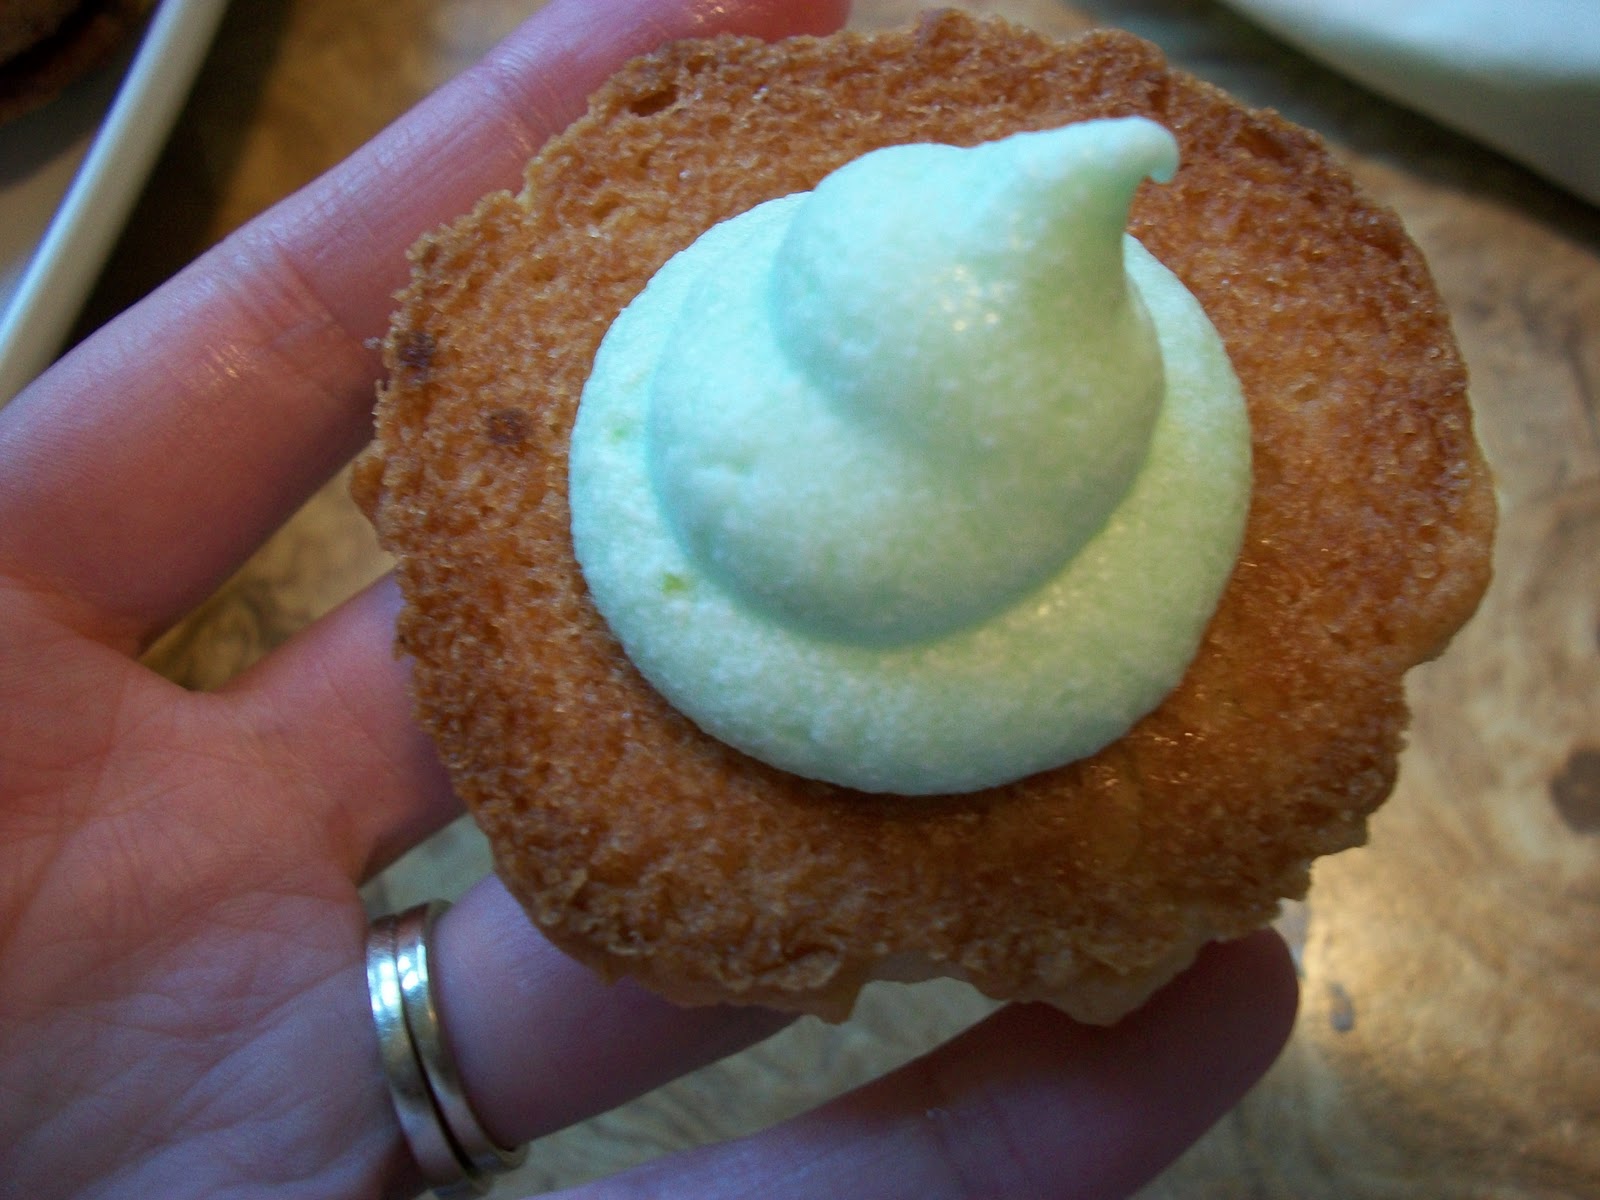
Enjoy the finer things in life.

Thursday, August 26

Bread Week: Focaccia

Happy Thursday!

Tomorrow is our last clinical for the second quarter.  I'm somewhat sad, because we had some great experiences this quarter and I learned so much more than I thought it was possible to learn.  I'm also glad that we're moving on to the next thing.  I feel pretty good about the content thus far, and I'm ready to take the finals (well, almost ready to take the finals) and build upon what we've learned.  

One of my biggest lessons from being in the hospital these past 10 weeks is that nursing is a process.  A perpetual, dynamic process.  Something new is going to happen everyday, and you're going to need to be ready for it.  My favorite clinical experience ended up being the oncology/transplant floor, which I definitely did not expect at the beginning.  I learned the most here, both about the process and about myself.  The patients here are very sick, very needy.  You have to be on your game the entire time.  They're upset and they're frustrated and they're scared - and on top of all that, they're sick.  Most of the patients on this floor were there for at least a week, some even several months.  You really got to know them, you were able to connect and anticipate their needs.  The nurses at this hospital were fantastic, very nurturing and caring.  We talk a lot in class about being "patient advocates" and providing care that's in the best interest of the patient by thinking critically and not being afraid to ask questions of the doctors and staff.  The nurses here really put that into place.  They would ask the doctors for orders in anticipation of what their patients would need, and they really stepped up and were proactive in their care.  

It was a challenging and exciting experience, one that I'm glad I was a part of.  We (the other students in my group and I) really bonded through these weeks, and I'm so thankful that we were able to stick together and really support each other.  I can't wait to see what next quarter will bring!

Although, I'm veeeery excited for the two week break.  :o)


Today's installment of Bread Week is Focaccia.  I had some tomatoes from my grandmother's garden that were begging to be mixed with mozzarella cheese and balsamic vinaigrette.  What would go better with tomato and mozzarella salad than focaccia bread?  That's what I thought!

Garlic and Rosemary Focaccia
(adapted from A Thought for Food)

5 cups flour (I did half wheat and half white)
2 packets yeast
1 tablespoon salt
3 cups warm water
1/3 cup rosemary and garlic bread spices
olive oil


In a large bowl, fold together the flour, salt, yeast and water.  Brush the top with olive oil, cover with plastic wrap and refrigerate overnight.  Rub a baking sheet with oil, dump the dough out onto the sheet and allow it to spread.  Allow to rest for 2 hours.  Brush the top with olive oil and sprinkle the spices on top.  Place in the oven on top of an overturned sheet to allow the air to circulate underneath.  Bake at 450 for 15-17 minutes, depending on your taste for crispiness.  I like mine to be a little toasty.  Allow to cool before cutting.  Eat alone or with something delicious.  :o)
 
Garlic-ly delicious!

Tuesday, August 24

Bread Week: Pepperoni Bread

Last full day of class for Quarter 2!  This week is the last week of clinicals, then we have review sessions on Monday, finals all next week and then - two weeks of vacation!  I can't wait to have a break from all this.  There are some yummy things I'd like to work on, interspersed with Thursday brunch and beach time.  :-)

During my bread experimentation, I decided to make one of Hubby's favorites, pepperoni bread.  This is apparently a big South Jersey tradition.  We had it in Altoona, of course, but definitely not to the degree that you see it around here, in every corner bakery.  It's kind of like rolled up pizza with no sauce, or a stromboli in bread dough.  However you describe it, it's definitely delicious!


 Pepperoni Bread
(makes two loaves)
1 recipe for Thursday Bread
1/4 lb thinly sliced deli pepperoni
3 oz shredded mozzarella cheese.


Allow the bread to double in size for the first rise.  Divide the dough into two balls and allow to rise for 15 minutes.  Roll each ball out onto your work surface, as you would for regular bread, approximately 7"x18".   Layer half the pepperoni onto the bread surface.  Sprinkle with half the cheese.  Roll into a loaf, sprinkle the top with mozzarella.  Repeat for the other dough ball.  Bake at 350 for 25-27 minutes, until golden brown.  Store in the refrigerator, if you have any left after the first few hours.  Even my in-laws liked it!!  :o)

Sunday, August 22

Bread Week: Cinnamon Bread

It's Bread Week at Girl, Dog,Oven!!  In honor of my favorite food group, I'm officially christening this week "Bread Week" - a celebration of yeast and flour and yumminess.  Over the past month or so, I've branched out from good old wheat bread into some different kinds.  This week I'm going to post them, starting with what has become Hubby's new favorite breakfast item - cinnamon swirl bread! 

Growing up, we went to Hoss's Steak and Sea House a lot.  The best part of Hoss's was the all you can eat soup and salad bar.  They had pretty much everything you could want on a salad, along with the most delicious bread - garlic bread, white bread, wheat bread and the yummy cinnamon sugar bread with the white sugar icing.  My goal with this bread was to recreate that.  The icing came out a little runny (needed more powdered sugar, fixed in the below recipe) but otherwise spot on!

Makes great toast!

Cinnamon Swirl Bread
(makes 2 loaves)

1 recipe for Thursday Bread
3 tablespoons sugar
3 tablespoons ground cinnamon
3/4 cup powdered sugar
1-2 tablespoons milk


Mix the bread as directed through the first rise.  Divide the dough into two and allow to rise for 15 minutes.  Roll each dough ball into a rectangle slightly wider and twice as long as the bread pan.  Mix the sugar and cinnamon together - spread half onto the dough.  Roll up, pinch the ends and place into a greased loaf pan.  Repeat for the other dough ball.  Bake at 350 degrees for 25-27 minutes, until the crust is golden brown.  Whisk the milk in the powdered sugar.  Once the bread is cool, pour over the top of the loaf, allow to harden.  Slice and enjoy!

Wednesday, August 18

Rainy Day Reads (Peanut Butter Chocolate Chip Cookies)

I read a book a few days ago, an actual novel with a plot and characters and no reference to blood pressure medications or post-op interventions.  Do I have time to just go around, reading whatever I please and blowing off my school work?  Not really, but I did it anyway.  Because sometimes you just have to. 

Anyway, this book was called "The Secret Intensity of Everyday Life" by William Nicholson.  I thought it was fantastic.  It was about a small English village of people who go about their normal lives, and the subplots and the stories that connect them are very well written and woven together.  That's not a great explanation.  It's about the passion that we each have for the little things in life, and that the moments that take your breath away are sometimes much smaller than you might expect.  It was very insightful, passionate and I thoroughly enjoyed it.  Plus, I'm a sucker for novels set in the English countryside.  If you're looking for something to read for the last few weeks of summer, I highly recommend it.

In the book, there's a village clergyman.  He's an interesting character, and he has a lot of great dialogue.  This is my favorite:  "...say to them that the world makes too many demands already.  We're beset by threats on all sides.  What we lack is kindness.  Perhaps kindness seems a small thing to you.  It's not even one of the seven virtues.  But I rate it very highly, because kindness means wanting to make someone else happy.  To do that you have to imagine what it feels like to be them.  You have to know them not as you wish them to be, but as they are.  That, I believe, is a truly good thing to do.  Perhaps it's the only act of true goodness of which we're capable."  It struck me that he's right.  A little bit of kindness, of sweetness, might be all you have to offer someone, but sometimes it's enough.  I see it in nursing all the time.  Sometimes a smile, a therapeutic touch, goes further than pain medication or physical intervention.  Not to say that the meds and the interventions aren't necessary, but given in the absence of caring, they work far less well.

Sometimes you just need some sweetness.


Peanutbutter Chocolate Chip Cookies

6 tablespoons butter, softened
1/2 cup light brown sugar
1/2 cup white sugar
1 egg
1/2 teaspoon vanilla extract
1-1/4 cup flour
1/2 tablespoon baking soda
1/4 tablespoon baking powder
pinch salt
1/2 bag chocolate chips
2 tablespoons granulated sugar for rolling

Mix together flour, baking soda, baking powder and salt.  In a separate bowl, cream the butter and sugars together.  Add the egg and vanilla.  Slowly incorporate the flour mixture into the sugar mixture.  Add the chocolate chips, stirring until well mixed.  Roll a golfball sized dough ball in the granulated sugar and place on the cookie sheet.  Press a fork into the dough in a criss-cross design.  Bake for 12-13 minutes at 350.

Monday, August 16

Put the lime in the coconut... (Coconut Cookies)

Sometimes, you have to step back from the textbooks and allow life in.  Last week was a busy week, and we needed something in my house to get us through.  Layla was sick, for the first time since we've had her.  She's much better now, but it was a little scary when she wouldn't eat anything!  Now, two trips to the vet and $700 later, she's taking her doggie Pepcid and seems to be feeling just fine.  Speaking of the pupster, I found a great pet blog, Pawcurious.com.  It's written by a vet and has some great information for doggies and their humans.  If you have a furry BFF, definitely check it out!

Also, we have a new tenant now, my younger sister who is in school in Philly.  She's decided to get out of the city and enjoy suburban life for a while, which means only one thing: another built in taste-tester!  To celebrate her move to Jersey, I made these summery sandwich cookies, using the recipe for coconut cookies and lime icing.  These little citrus delights are sweet and sour at the same time, and melt in your mouth.  Next time I would probably make the cookies a little smaller, or bake them while the dough has warmed up so that they flatten out a little bit, to make them more sandwich like, as opposed to coconut gobs. 

Hubby the hand model :-)

Mmmm, gobs.  That's a thought....

Anyway, back to summer.  As it dwindles to a close, this might be my last truly summer dessert to post.  I have a lot of things lined up as autumn treats, and some fun things to post this week.  But for now, put the lime in the coconut and drink it all up...

1-1/4 cups all purpose flour
1/2 tsp baking soda
1/4 tsp salt
1/2 cup butter, softened
1/2 cup packed light brown sugar
1/2 cup white sugar
1/2 tsp vanilla extract
1 large egg
1-1/3 cups shredded coconut

Combine the flour, baking soda and salt in a small bowl; set aside. Beat the butter and both sugars until creamy, then add the vanilla and egg. Slowly add the flour mixture until combined. Add the coconut. Drop by the heaping teaspoon onto a lined baking sheet, about 2-3 inches apart (they will spread quite a bit). Bake at 350 for 9-11 minutes, until golden brown. Cool on a wire rack. 


8 oz cream cheese, room temp
1/2 cup unsalted butter, room temp
2 tablespoons lime juice
4 cups powdered sugar
1 teaspoon lime zest
green gel food coloring


 Beat the cream cheese and butter together until smooth and creamy, about 2 minutes.  Add lime juice and mix until incorporated.  Add powdered sugar, one cup at a time, until the icing is at your desired consistency (I like mine to be able to hold its shape).  Mix in the lime zest and green food coloring as desired.  Spoon into a pastry bag and dollop onto the bottom of a cooled cookie.  Top with another cookie.  Store in the refrigerator.  

"But mom, cookies would make my tummy feel better!"

Tuesday, August 10

Baking Away in Margaritaville, Vol 2 (Cherry Lemonade Yum-Yums)

These bars were the other new hit at our Buffett tailgate this past weekend. I'll warn you, they're not pretty.  They're not easy to photograph and come out looking mouthwatering.  You're going to have to trust me, they smell and taste a hundred times more beautiful than they look.  I'm sure if I had more time and energy, I could have found a way to make them lovely.  I would have decorated them with little gray construction paper shark fins glued onto toothpicks.  Or I would have dusted them with a dash of powdered sugar.  Or I would have found the (nonexistent) spot in my house that gets great light.  But let's face it - there was a tailgate to get to.  The spirits were calling me...

Let me tell you what these are.  They're sweet and sour with a soft crust.  Someone described them as inside out Pop Tarts, which I know was meant as a compliment, but honestly, I hate Pop Tarts.  Never much liked them when I was a kid.  Dry biscuits with some food colored stale jam in the middle. Therefore, these will not be called Pop Tarts.  These will be called:  Cherry Lemonade Yum Yums.  Many thanks to fellow Parrothead Jon Ward who coined the "Yum Yum" term for last year's cinnamon dessert, giving me a ready made name for most of my homemade treats.

Chew a little juicy fruit...

Cherry Lemonade YumYums
(adapted from Cheeky Kitchen)
1/2 cup butter
1 cup flour
1/4 cup powdered sugar
1/4 teaspoon salt
8 ounce maraschino cherries, with juice
1/2 tablespoon corn starch
3 eggs
1-1/4 cup sugar
3 tablespoons flour
1/4 cup fresh squeezed lemon juice

Mix the butter, 1 cup flour, powdered sugar and salt together until combined into a wet dough.  Using the back of a spoon, press onto the bottom of a 9x9 glass baking dish.  Blend the cherries with juice and corn starch for 1 minute or until combined but cherries still a little chunky (the Magic Bullet did a great job at this in about 5 pulses).  Pour over the crust and bake at 350 for 15 minutes.  In the meantime, whisk the eggs, sugar, flour and lemon juice together.  Pour over the baked crust and cherries (I didn't allow any cooling time and the layers mixed, so probably if you wait 2-3 minutes you could avoid that).  Return to oven and bake for 20-25 minutes, until top is set and doesn't wiggle.  Cool completely before cutting.

Sunday, August 8

Baking Away in Margaritaville... (Margaritaville Cupcakes)

Fins to the left, fins to the right...
This weekend was BUFFETT WEEKEND!!!  Jimmy Buffett is playing two shows in Philadelphia/South Jersey this year - one yesterday and one on Tuesday.  In my circle of friends, this annual tradition is as close to Christmas in the summer as one can get.  It might actually be better than Christmas - there's more margaritas and less snow.  We tailgate like professionals - RV with bathroom, pop up canopies, kiddie pool with sand, one or two grills, margaritas and hand grenades (an evil drink concoction of everclear and secret drink mix), beer, parking lot games and lots and lots of food.  I spent this year's Buffett Eve with the Buffett-Master, who organizes this extravaganza every year, making endless ka-bobs and stocking the RV with everything good tailgaters might need.  I also appointed myself to the post of dessert dominatrix, and got to work making Cinnamon Yum Yums, Cherry Lemonade Bars and these, Margaritaville Cupcakes.  They were, according to what I was told at the party yesterday, the most amazing cupcakes you'll ever eat.  After all, what's better than cake and tequila??

Nibblin' on sponge cake...
 Margaritaville Cupcakes
(adapted from Homemade by Holman)
1 box yellow cake mix 
7 ounces lime juice
2 ounces tequila
1 ounce orange juice
3 large egg whites
2 tablespoons vegetable oil
Zest of 1 lime (about 2 teaspoons)

Combine the lime juice, tequila and orange juice in a small bowl.  In a larger bowl, combine cake mix, egg whites, oil and juice mixture until combined.  Add the lime zest and beat on medium high for 2 minutes.  Spoon into cupcake liners, about 2/3 full, and bake at 350 for 20 minutes.  Allow to cool completely.

Lime Cream Cheese Icing
8 oz cream cheese, room temp
1/2 cup unsalted butter, room temp
2 tablespoons lime juice
4 cups powdered sugar
1 teaspoon lime zest
green gel food coloring

Beat the cream cheese and butter together until smooth and creamy, about 2 minutes.  Add lime juice and mix until incorporated.  Add powdered sugar, one cup at a time, until the icing is at your desired consistency (I like mine to be able to hold its shape).  Mix in the lime zest and green food coloring as desired.  Spoon into a pastry bag and use to ice cooled cupcakes.  Store in the refrigerator.

These totally make me the woman to blame...

Wednesday, August 4

Saturday Night Picnic (Tomato Bruschetta, Corn-mato Salad)

Since moving into our house, I've been clamoring to host a party.  I didn't care who came or how many there were or what we were eating, I just wanted to play Martha Stewart.  So, less then 2 weeks after we moved in, we had a Halloween party.  Then we hosted Thanksgiving for both our families.  Then we had a Christmas party.  Then we hosted Christmas dinner for both our families.  Then I took a looooooong nap.

Then, one hot Saturday morning, I went to the Collingswood Farmer's Market to gather ingredients for another little dinner party, this one with our best couple friends and much less drama.  I had found great recipes for baked tomatoes and some cheesy cornbread.  


Our friends brought the veggies and some awesome corn salad.  This was by far the most healthy looking dinner we've had in a long time.  Since corn and tomatoes are in season, these are some delicious ways to use them up while they're fresh and tasty! 

(Our Saturday night summertime feast!)

Baked Tomato Bruschetta
(adapted from Smitten Kitchen)
4 tablespoons olive oil
2-1/2 cups cubed French baguette
2-1/2 pounds Roma tomatoes, chopped into 3/4 inch pieces (I scoop the goop out, but feel free to leave it in if you like it)
3 cloves garlic, minced
2 tablespoons sugar
2 teaspoons salt
1-1/2 teaspoon black pepper
3/4 cup sliced fresh basil
1 cup romano cheese


Heat the oil in a shallow pan.  Saute the bread cubes until they are toasty croutons, about 6-7 minutes.  Combine the tomatoes, garlic, sugar, salt, pepper and 1/4 cup of the cheese.  Cook with the bread cubes in the oil for about 5 minutes.  Remove from heat.  Stir in the basil, pour into a baking dish and top with the cheese.  Bake at 350 for 35 minutes, until cheese is melty.

We spooned this on top of grilled chicken, topped with a slice of mozzarella cheese and finished in the oven for about 4 minutes.  Voila - healthy chicken parm!

Kristen's Corn-mato Salad
Ok here is the recipe, BUT I kind of just did my own thing and used this recipe as a guideline. So, I didn't measure the cilantro out really.  :)
 
6 ears fresh corn, husked
2 small containers of grape tomatoes
1 medium red onion
chopped fresh cilantro 
3/4 cup Italian salad dressing
 (sweet and salty and delicious!)
I grilled the corn first then cut the kernels off.  Then I chopped the onion and cilantro together in the food processor.  I cut the grape tomatoes in half and put them in the bowl first, then added the corn and cilantro/red onion mix.  I seasoned everything with salt and pepper. Next I put the salad dressing on top and mixed it all together.

I was also thinking of just mixing it with some olive oil and some lime juice to give it more of a Mexican feel, but I chose the Italian dressing instead. I think to make it more Italian I would add basil instead of cilantro and the Italian dressing or red wine vinegar and olive oil. So you can do this a couple different ways, which is fun!  I also thought about adding peppers too. It's a fun dish because you can play around with it and there isn't much you can do to mess it up!

Cheesy Cornbread
(adapted from The Cilantropist)
1 cup cornmeal
1/2 cup whole wheat flour
1/2 cup white flour
1/4 cup sugar
1 tablespoon baking powder
1 teaspoon salt
4 ounces Monterey Jack cheese, shredded
1 cup milk
1/3 cup olive oil
3/4 cup Mexican corn mix (corn, peppers), drained
4 tablespoons pickled jalapeno peppers

(Cheesy, spicy and maybe just a little bit corny)

Combine the cornmeal, flours, sugar, baking powder and salt in a medium bowl.  In a separate bowl, combine the milk, oil, corn and peppers.  Mix in the cheese.  Add the wet mixture to the dry mixture, stirring until just combine.  Pour into a greased 8x8 baking pan, top with remaining cheese and bake at 400 for 20 minutes.
All dishes best enjoyed with good friends.  :-)
Related Posts Plugin for WordPress, Blogger...